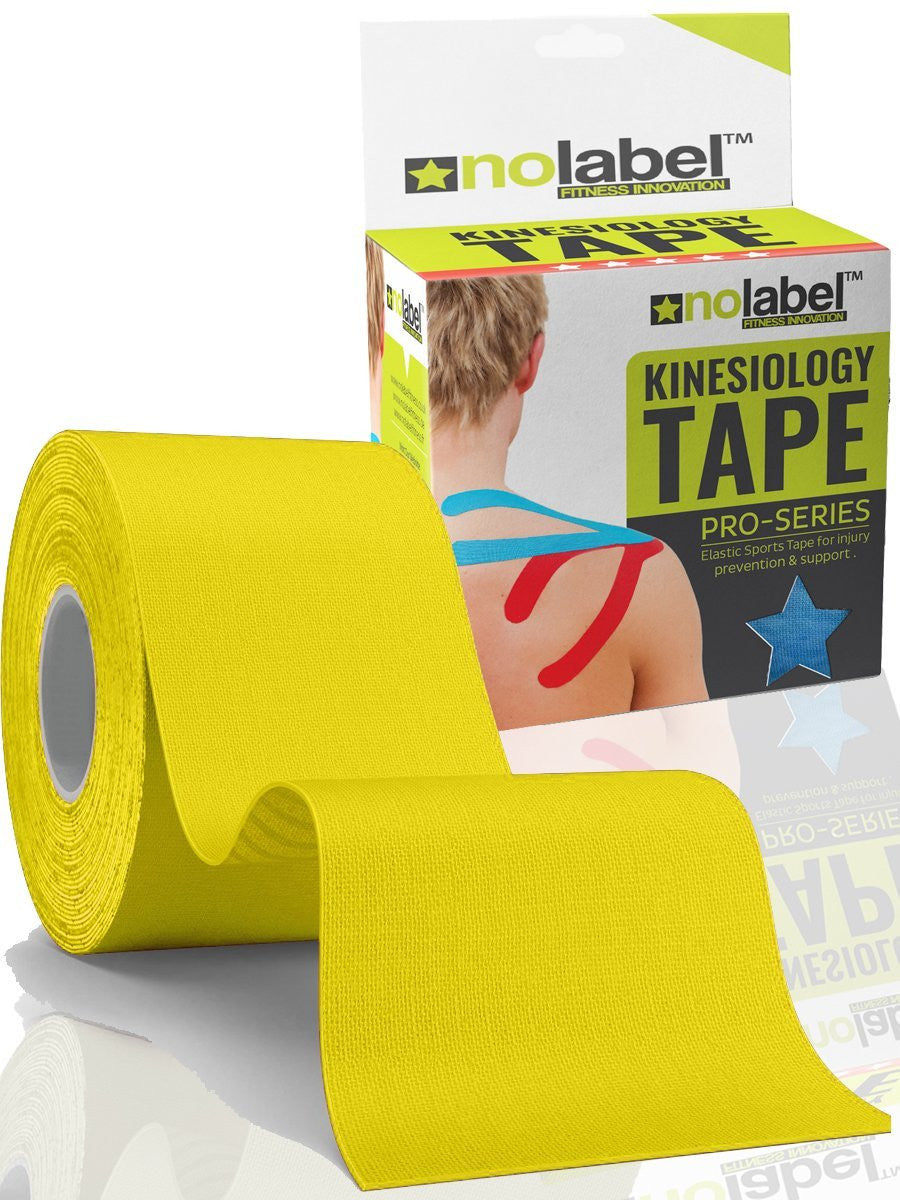
So your pack of Pro Kinesiology tape has just arrived in the post, now what?
I guess you’ve got a couple of questions, how do I use it, what’s the best way to apply it, how much do I need to use?
Well in this post we’re going to cover how to get your kinesiology tape to stick. Thankfully it’s not rocket science, but there are however a few things you can do that will really help. Remember the five "P"’s?
Prior
Planning
Prevents
Poor
Performance
Luckily for you we’ve made this really easy. Our No Label Pro Kinesiology tape has been designed to be long lasting. If applied correctly it can last for 3-5 days from one application.
So if you have an injury and want muscle & pain relief all you need to do is follow these steps:
1. It’s all in the prep:
Make sure the area you are applying the No Label Pro Kinesiology tape to is clean, dry and free of any contaminants. That means removing any dirt, oil, hair, sun tan lotion, fake tan you name it, we need it off. We’ve found that using an alcohol wipe is the best way to do this.
2. Tick Tock:
Leave yourself enough time before you exercise to allow the glue to do it’s work. We found that 45mins up to one hour is the perfect amount of time to allow it to get a “good fix” on your skin.
3. Round it off:
If you haven’t bought our pre-cut No Label Pro Kinesiology tape our top tip is to round off the corners of the tape. This will stop the tape from fraying and lifting from the skin, ensuring that it stays on for longer.
4. Assume the position:
Always ensure you stretch the muscles of the body part you will be applying our kinesiology tape to. You will find that if you do not do this your kinesiology tape can pull more than it needs to which can stretch the tape and cause it to loosen before it’s done the job.
5. The stick:
Now for the important part, remove the paper from the back of the kinesiology tape and try not to touch the adhesive side.
6. The application:
The most important bit! Apply the tape directly onto your shiny clean skin on the affected area. For a more secure application ensure it’s in direct contact with the skin & not overlapping on any other piece of kinesiology tape.
7. No stretch on tape ends:
When applying your strip try not to over stretch the ends of the kinesiology tape. We need this part to for an anchor onto the skin so we you get a secure fix. Leave approximately 4-5cm (1.5″-2″) on each end of the application without any stretch whatsoever.
8. Give it a rub – My favourite bit:
Before you think your done, wait, stop, don’t move! You haven’t activated our long lasting special “super sticky adhesive”.
Ahhhh how do I do that???
Easy, use the waxy side of the back of the tape and rub it all over the tape. This causes friction which heats up the adhesive & activates the glue.
Now, you’re good to go!!

